Growing hemp for CBD at home takes about 120 days from seed to harvest and is fully legal in the U.S. as long as your plants stay below 0.3% THC. You’ll plant feminized hemp seeds, provide 18 hours of light during vegetative growth, switch to 12 hours to trigger flowering, and harvest when trichomes turn milky white. The process mirrors growing Exhale Wellness vapes source material but requires careful variety selection and testing to ensure compliance.
Hemp cultivation for CBD has opened the door for home growers who want therapeutic cannabinoids without the legal complexity of marijuana. The 2018 Farm Bill federally legalized hemp, defined as cannabis containing 0.3% THC or less, making it accessible across all 50 states with varying local regulations. This legal threshold is your critical benchmark throughout the entire grow cycle.
Most home growers achieve 1-3 ounces of CBD-rich flower per plant, which translates to roughly 30-90 grams of dried bud containing 15-20% CBD by weight. That single plant can yield enough material to produce your own tinctures, topicals, or smokable flower for months of personal use at a fraction of retail cost.
The real challenge isn’t complexity but consistency. You need stable genetics from reputable seed banks that guarantee low THC levels, basic environmental controls, and access to lab testing before harvest. Miss the 0.3% threshold and your legal hemp becomes illegal marijuana overnight, regardless of your intent. This guide walks you through every stage with testing checkpoints, safety protocols, and expert-backed methods to keep your grow compliant and productive.
Understanding Hemp-Derived Cannabis and CBD Production
Hemp-derived cannabis refers to cannabis plants bred specifically to stay below the legal threshold of 0.3% THC by dry weight. This seemingly small percentage makes an enormous difference: plants above this limit are classified as marijuana and face strict federal regulations, while those below it qualify as industrial hemp under the 2018 Farm Bill. For home growers and medical patients, this distinction opens the door to legal cultivation in many areas where marijuana remains prohibited.
CBD, or cannabidiol, develops naturally in the trichomes of cannabis flowers as the plant matures. Both hemp and marijuana produce CBD through identical biological processes, but hemp genetics have been selectively bred to maximize CBD while minimizing THC production. During the flowering stage, the plant converts cannabigerolic acid (CBGA) into various cannabinoids, including both CBD and THC. Hemp strains direct most of this conversion toward CBD, resulting in flowers that deliver therapeutic benefits without significant psychoactive effects.
Growing your own hemp-derived cannabis offers medical marijuana patients several compelling advantages. First, you control exactly what goes into your plants, no pesticides, heavy metals, or questionable additives that sometimes contaminate commercial products. Second, the cost savings become substantial over time. A single harvest can produce enough CBD-rich flower to last months, at a fraction of retail dispensary or online prices. Third, you gain access to the full plant spectrum, including minor cannabinoids and terpenes that work synergistically with CBD. Finally, home cultivation gives you consistent access to fresh, potent medicine tailored to your specific needs, rather than depending on product availability and pricing fluctuations in the commercial market.
What You’ll Need: Tools, Materials, and Seeds
Selecting CBD-Rich Hemp Genetics
Choosing the right genetics is your foundation for a successful CBD harvest. Start with reputable seed banks that specialize in hemp varieties and provide lab test results showing CBD-to-THC ratios. Look for strains documented at 15-20% CBD with THC consistently below 0.3%, these genetics are bred specifically to stay within legal hemp limits.
Popular CBD-rich strains for home growers in 2026 include Cherry Wine, Hawaiian Haze, and Lifter. These offer robust growth characteristics and predictable cannabinoid profiles. Avoid generic “CBD strain” listings without specific ratio data or third-party verification.
Pay attention to whether seeds are feminized (nearly 100% female plants that produce CBD-rich flowers) or regular (50/50 male-female mix requiring sexing and removal of males). For first-time growers, feminized seeds eliminate guesswork and wasted space on non-producing plants.
Request certificates of analysis (COAs) from your seed source showing the parent plants’ cannabinoid profiles. Reputable suppliers provide this documentation and often include growing tips specific to each strain. If a vendor can’t produce test results or dodges questions about THC levels, keep searching, your legal compliance depends on starting with verified hemp genetics.
Indoor vs. Outdoor Setup Considerations
Growing hemp-derived cannabis indoors or outdoors each presents distinct trade-offs that affect your setup cost, control level, and final yield.
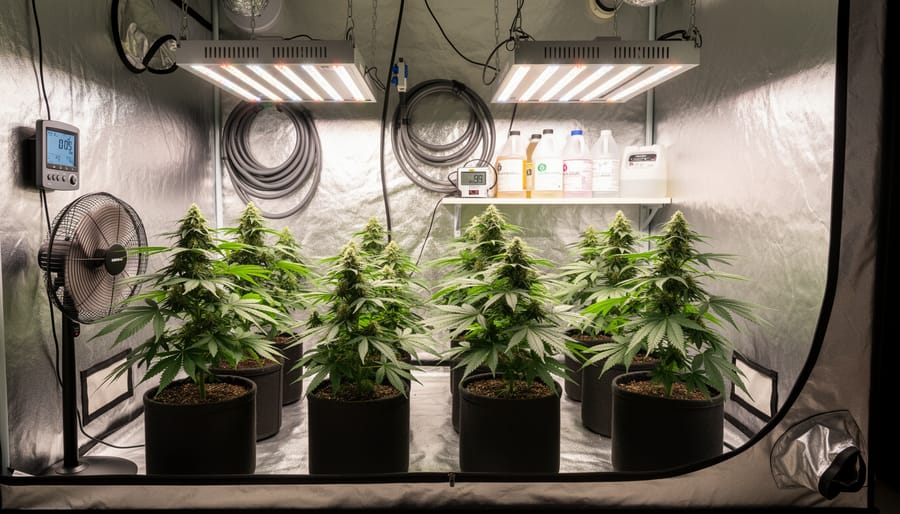
Indoor cultivation gives you complete environmental control, light cycles, temperature, humidity, which is crucial for maximizing CBD production and staying under the 0.3% THC threshold. You’ll need grow lights (LED or HPS), ventilation fans, a tent or dedicated room, and climate control equipment. Expect initial costs of $300-$1,000 depending on scale, plus ongoing electricity expenses. The advantage? Year-round growing, predictable results, and privacy. The downside: higher operating costs and space limitations.
Outdoor growing dramatically reduces equipment needs, sunlight is free, and nature handles ventilation. You’ll mainly invest in soil amendments, nutrients, and basic tools. However, you’re at the mercy of local climate, seasonal timing, and weather fluctuations that can affect CBD potency. Outdoor plants typically grow larger and yield more per plant, but you get only one harvest per year in most climates.
For first-time growers, indoor setups offer a controlled learning environment. Outdoor grows work best if you have suitable climate conditions and adequate private space.
Safety Warnings and Legal Considerations
Before you start growing, understand that hemp cultivation laws vary dramatically by location and non-compliance can result in crop destruction, fines, or criminal charges. While the 2018 Farm Bill federally legalized hemp, each state and locality sets its own rules for home cultivation.
The 0.3% THC threshold is non-negotiable. Even if you start with certified hemp seeds, environmental stress, genetics, or late harvesting can push THC levels above the legal limit. Many states mandate third-party lab testing to verify compliance, and USDA hemp lab testing guidelines specify testing flower material within 15 days of harvest. Budget for this testing upfront, it typically costs $50 to $150 per sample and is your only reliable proof that your crop qualifies as legal hemp.
If you’re growing indoors, electrical safety demands attention. A single 600-watt grow light running 18 hours daily draws significant power, and improper wiring causes fires. Use dedicated circuits, ground fault interrupters, and surge protectors rated for your total wattage. Never overload outlets or run extension cords under carpets.
International growers face different frameworks, rules for homegrown cannabis in Canada differ from U.S. hemp regulations, and travelers should research whether they can bring vape to Canada before crossing borders with CBD products. Ignorance of local law isn’t a defense, so invest time in research before investing money in equipment.
Step-by-Step: Growing Hemp-Derived Cannabis for CBD
Germination and Seedling Stage (Weeks 1-3)
Start by placing your hemp seeds between two damp paper towels on a plate, keeping them in a warm, dark spot around 70-75°F. Check daily and add water if the towels dry out. Within 2-5 days, you’ll see a small white taproot emerge. Once the taproot reaches about half an inch, it’s ready to plant.
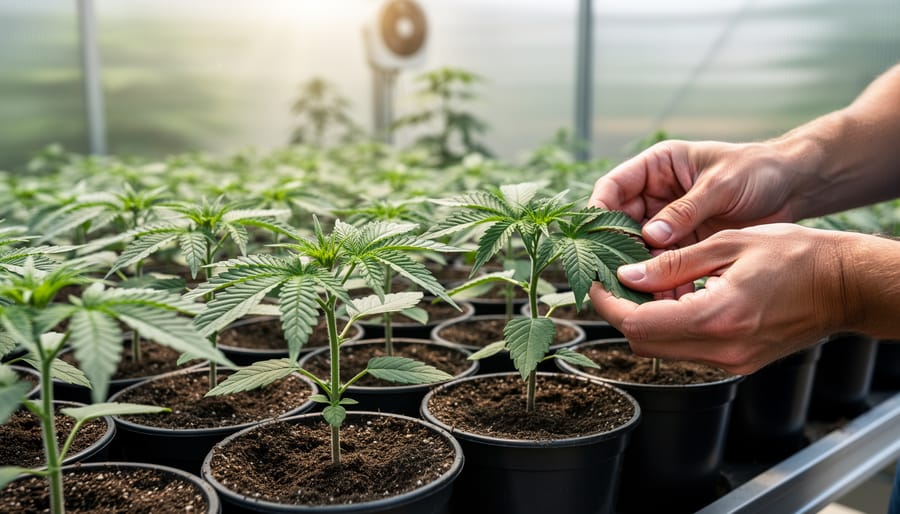
Gently transfer each germinated seed into a small container filled with seed-starting mix or light potting soil, placing it taproot-down about a quarter-inch deep. Keep the soil consistently moist but not waterlogged, overwatering kills more seedlings than anything else. Within 24-48 hours, the seedling will push through the surface with two rounded cotyledon leaves.
Position seedlings under grow lights (LED or fluorescent) about 2-3 inches above the plants, running 18-20 hours daily. If you’re growing outdoors, wait until nighttime temperatures stay above 50°F before moving them outside. Seedlings need gentle light at first; direct sunlight or lights too close will scorch them.
Healthy seedlings show bright green growth with the first set of true serrated leaves appearing within a week. The stem should be short and sturdy, not stretched and spindly, if it’s reaching upward, your light is too far away. By week three, you should have 3-4 sets of true leaves and a robust root system ready for transplanting into larger containers or your final growing location.
Vegetative Growth Phase (Weeks 4-8)
During weeks four through eight, your hemp plants shift into rapid vertical and lateral growth. This phase builds the plant structure that will support heavy CBD-rich flowers later, so getting the fundamentals right now pays dividends at harvest.
Light Requirements
Maintain 18 hours of light and 6 hours of darkness daily. This extended photoperiod keeps plants in vegetative mode while driving photosynthesis. Position lights 18-24 inches above the canopy, adjusting weekly as plants stretch upward. Watch for light stress, leaves that curl or bleach indicate the source is too close.
Feeding and Watering
Switch to a nitrogen-rich vegetative nutrient formula, following manufacturer guidelines at half-strength initially. Increase to full strength by week six if plants show vigorous green growth. Water when the top inch of soil feels dry, typically every 2-3 days. Overwatering causes droopy leaves and invites root rot, while underwatering leads to dry, crispy foliage.
Training Techniques
Top your plants around week five by cutting the main stem just above the fourth node. This encourages two main colas instead of one, increasing potential bud sites. Use low-stress training by gently bending branches outward and securing them with soft ties. This opens the canopy to light and creates an even growth profile, setting up multiple flowering sites for maximum CBD production.
Flowering and CBD Development (Weeks 9-16)
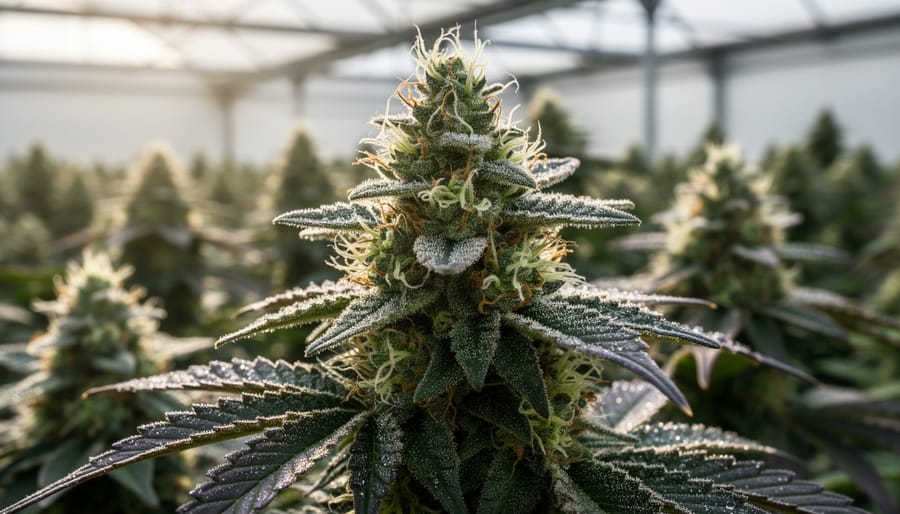
Week nine marks a turning point: your hemp plants shift from building structure to producing the CBD-rich flowers you’re after. For photoperiod strains, you trigger flowering by adjusting the light cycle to 12 hours on, 12 hours off. Autoflowering hemp varieties will flower on their own schedule regardless of light, typically around week six to eight from germination.
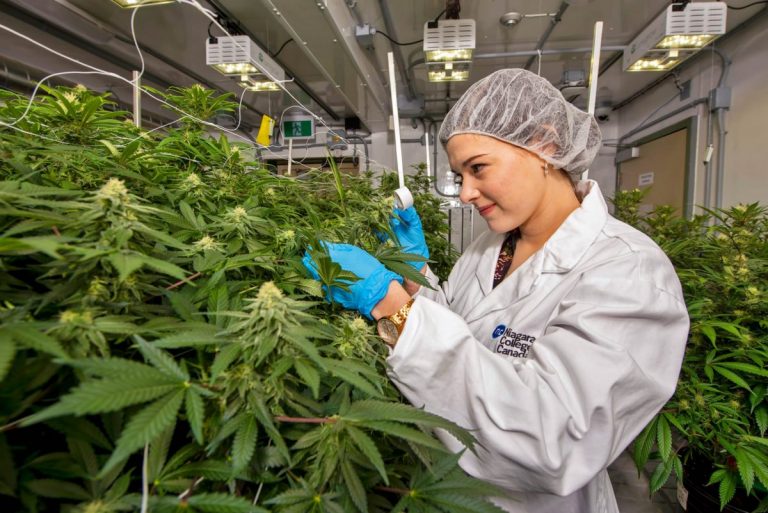
Once flowering begins, watch the developing buds closely. Small, mushroom-shaped trichomes will appear on the flower surfaces and surrounding leaves, these tiny resin glands house the CBD your plants are producing. In the first few weeks, trichomes look clear and glassy. As CBD concentrations peak, they’ll turn milky white or cloudy. If many trichomes start turning amber, you’ve passed the optimal harvest window and CBD may be degrading into other compounds.
Humidity control becomes critical during flowering. Keep levels between 40-50% to discourage mold and bud rot, which thrive in damp conditions above 60%. Increase air circulation with fans, but avoid blowing directly on buds. If you spot fuzzy white or gray patches inside flowers, remove affected buds immediately to prevent spread.
Around weeks 14-16, most CBD-rich hemp strains reach maturity. The flowers will swell, pistils (hair-like structures) will darken and curl inward, and that milky trichome appearance signals peak CBD content. Some growers practice flushing plants with plain water during the final week to clear excess nutrients, though recent research questions whether this significantly impacts final quality.
Check trichomes daily with a jeweler’s loupe or digital microscope once you’re in the harvest window, timing matters for maximizing CBD concentration.
Harvesting at Peak CBD Content
Knowing when to harvest determines your final CBD yield and quality. Hemp flowers reach peak CBD content when 70-80% of the pistils have darkened from white to orange or brown, and the trichomes, tiny resin glands visible under a jeweler’s loupe, appear mostly cloudy with some turning amber. Clear trichomes indicate immaturity; fully amber means cannabinoids are degrading.
Harvest in the morning after the lights come on but before temperatures rise, when terpenes and cannabinoids are most concentrated. Use clean, sharp pruning shears to cut branches at the base or harvest the entire plant at the stem. Work in a clean space to prevent contamination.
Trim away large fan leaves immediately after cutting, but leave smaller sugar leaves, they contain CBD-rich trichomes you’ll want to preserve. You can wet-trim (removing all leaves now) or dry-trim (leaving sugar leaves on during drying, then removing them). Dry-trimming slows moisture loss and may preserve more terpenes, though wet-trimming speeds the process.
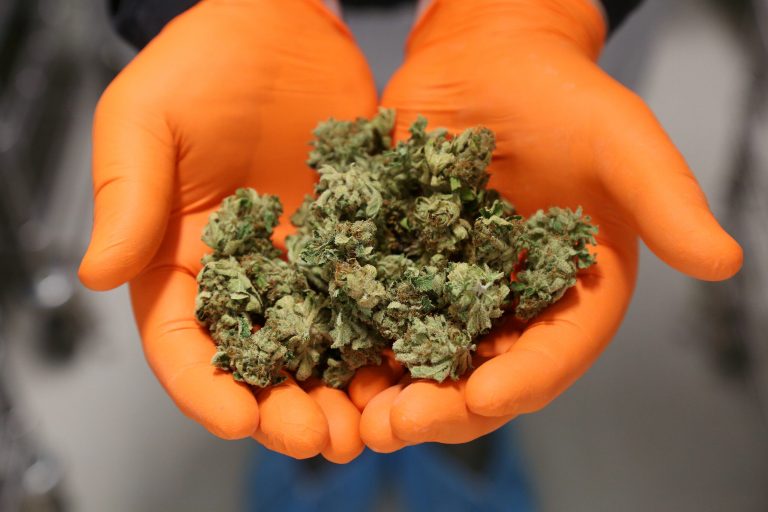
Handle buds gently by the stems. Rough handling knocks off trichomes, directly reducing your CBD content. Wear gloves to prevent transferring oils from your skin.
Drying and Curing Your Hemp
After harvest, hang your trimmed plants upside down in a dark room with 60-65°F temperature and 45-55% humidity. Space them apart to prevent mold. Drying takes 7-14 days, stems should snap cleanly, not bend.
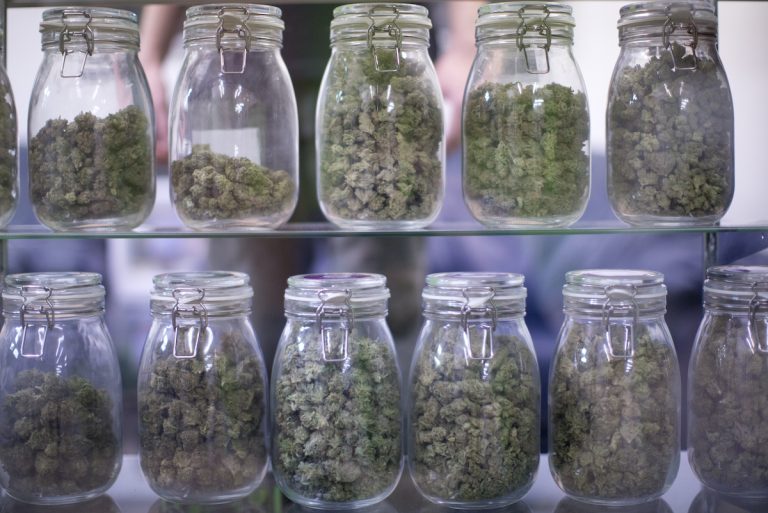
Once dry, trim buds from stems and place them loosely in glass jars, filling only two-thirds full. Store jars in a cool, dark place. For the first week, open jars (“burp” them) twice daily for 15 minutes to release moisture. If buds feel damp, leave jars open longer. After the first week, burp once daily for another two weeks.
Proper curing develops terpenes and preserves CBD content. Cure for at least three weeks, though four to eight weeks yields better results. Store cured hemp in sealed jars away from light and heat to maintain potency for months.
Testing and Verifying Your CBD Content
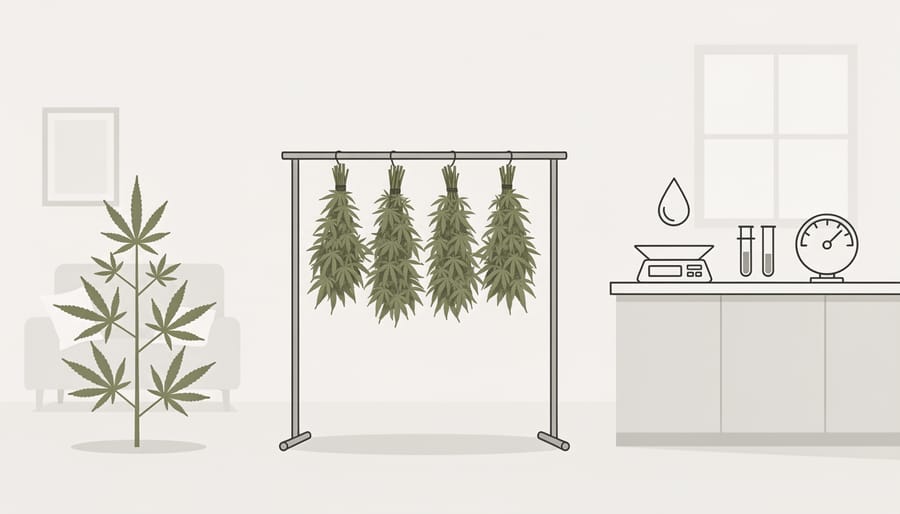
Testing your hemp harvest isn’t optional, it’s the only way to confirm you’re under the 0.3% THC threshold that separates legal hemp from federally controlled marijuana. Without lab results or verified testing, you can’t legally prove your plants qualify as hemp, which puts you at risk regardless of how carefully you selected your genetics or managed your grow.
Start testing about two weeks before your planned harvest date. Trichomes can shift in cannabinoid content during the final ripening phase, and you need to catch the window where CBD peaks while THC stays compliant. If you’re growing multiple plants, test samples from several because THC levels can vary even within the same strain and growing conditions.
You have several testing options, each with different costs and turnaround times:
- At-home test kits ($50, $150) provide quick THC/CBD estimates but lack the precision needed for legal documentation
- State-certified labs offer legally defensible results with full cannabinoid profiles, typically $50, $200 per sample
- Mail-in testing services balance accuracy and convenience, with results in 3-7 business days and detailed reports
- Look for results showing total THC under 0.3% and CBD percentages, reputable labs report both decarboxylated (active) and total potential cannabinoid content
For legal protection, choose a lab that follows ISO/IEC 17025 standards and provides a certificate of analysis you can keep with your harvest documentation. Many states require testing from specific approved facilities if you’re participating in a hemp program, so verify local requirements before selecting a lab.
Keep your test results and any correspondence about your grow in a secure file. If you test above 0.3% THC, that batch cannot legally be sold or transported, though some states allow you to dispose of it yourself or rework it into compliant products through further processing.
Next Steps: Processing and Using Your CBD Hemp
You’ve got dried, cured hemp in hand, now what? The simplest option is smoking or vaping the flower directly for fast-acting CBD effects. If you’re interested in concentrates, though similar to vaping THC oil CBD-rich hemp requires its own considerations for optimal extraction and potency.
For at-home processing, CBD-infused oils are the most accessible starting point. Decarboxylate your flower first (heat it in an oven at 240°F for 40 minutes to activate the CBD), then infuse it into carrier oils like coconut or olive oil using a slow cooker or double boiler. This base works for tinctures, topicals, and edibles, you can even follow a CBD gummy recipe once you have infused oil ready.
Alcohol-based tinctures offer another route: soak decarbed hemp in high-proof grain alcohol for several weeks, strain, and you have a sublingual CBD tincture. For topicals, mix your infused oil with beeswax, shea butter, and essential oils to create balms or lotions for localized relief.
Whichever method you choose, start with small batches to dial in potency and dosage before scaling up. Home processing keeps you in control of purity and ingredients, extending the value of your harvest well beyond raw flower.
Common Questions About Growing Hemp for CBD
Do I Need a License to Grow Hemp for CBD at Home?
Licensing requirements vary significantly by state and even by county. Most states that allow hemp cultivation require growers to register with their state department of agriculture and obtain a hemp license, even for small-scale personal grows. Some jurisdictions exempt grows under a certain plant count (typically 5-10 plants) for personal use, while others require full commercial licensing regardless of scale. Before you germinate a single seed, check your state’s hemp program regulations and contact your local agricultural extension office. Operating without proper licensing can result in crop seizure, fines, or criminal charges, so this isn’t a step to skip.
How Much CBD Can I Expect From My Harvest?
Yield depends on strain genetics, growing conditions, and plant count, but a well-tended indoor plant typically produces 1-4 ounces of dried flower. If your strain contains 15% CBD by weight (a common level for quality hemp genetics), a single plant yielding 2 ounces would give you roughly 8.5 grams of pure CBD content. That’s equivalent to several months’ supply for many medical users. Outdoor plants in optimal conditions can produce significantly more, sometimes a pound or more per plant, but require more space and favorable climate.
What happens if my plant tests over 0.3% THC?
In most states, hemp that exceeds the 0.3% THC threshold must be destroyed under supervision of agricultural authorities. Some programs allow remediation (blending hot batches with compliant hemp to lower the average), but disposal is more common. This is why choosing verified low-THC genetics and testing before harvest is critical.
Is growing my own hemp cheaper than buying CBD products?
Initial setup costs range from $200-$800 for basic indoor equipment, plus $50-$150 per grow for seeds, nutrients, and electricity. After your first harvest, you’ll likely spend $3-$8 per gram of CBD produced versus $50-$100 per gram for commercial products, making home cultivation significantly cheaper for regular users after the first crop.
What’s the biggest mistake first-time hemp growers make?
Overwatering kills more plants than any other single error. Hemp prefers soil that dries slightly between waterings, and constantly wet roots lead to rot, mold, and nutrient lockout. Let the top inch of soil dry out before watering again, and ensure your containers have drainage holes.
Can I Grow Hemp Outdoors in Cold Climates?
Hemp is relatively hardy and can tolerate light frosts, but CBD-rich strains typically need 120-150 days of growing season to reach full maturity. If your region has shorter summers, choose autoflowering or fast-finishing genetics bred for northern climates. You can also start seeds indoors in early spring and transplant after the last frost to extend the effective growing season. Greenhouse cultivation offers a middle ground, protecting plants from extreme weather while utilizing natural sunlight.
Growing hemp-derived cannabis for CBD at home is entirely achievable when you combine proper preparation with a commitment to following legal guidelines. Throughout this guide, you’ve gained the knowledge needed to move from seed to harvest, ensuring your plants stay under the 0.3% THC threshold while maximizing CBD content.
For medical marijuana patients, home cultivation offers significant cost savings compared to purchasing CBD products commercially. A single successful harvest can provide months of high-quality CBD flower, oils, or tinctures at a fraction of retail prices. You control every input, from genetics to nutrients, ensuring purity and potency tailored to your specific needs.
Start small with a few plants to build confidence and refine your technique. Document your process, noting what works and what doesn’t. Remember that every grower encounters challenges, pest pressure, nutrient imbalances, or environmental fluctuations, but these become manageable with experience.
Verify your local regulations before germinating your first seed, and commit to testing your harvest to confirm compliance. When questions arise beyond the scope of this guide, personalized consultation can provide tailored advice for your unique growing conditions and goals. Your journey toward affordable, quality CBD begins with that first seed, and the knowledge you now have to cultivate it successfully.